Step-by-step guide to setting up a Xero account for your business
-
Sign Up
- Go to xero.com.
- Click “Try Xero for free” or “Buy now”.
- Enter your name, email address, and country.
- Confirm your email via the link sent to your inbox.
-
Enter Business Details
- Business name
- Type of organization (sole trader, partnership, company, etc.)
- Industry/sector (helps Xero suggest accounts in your Chart of Accounts)
- Time zone and base currency
-
Set up Financial Settings
- Financial year start date
- Default tax settings (e.g., sales tax, VAT, GST depending on your country)
- Choose invoice and quote settings
-
Customize Your Chart of Accounts
- Xero provides a default Chart of Accounts.
- You can import your own via CSV or edit/add accounts (Assets, Liabilities, Income, Expenses).
- Align accounts with your accountant’s requirements.
-
Add Bank Accounts
- Go to Accounting > Bank accounts.
- Add your business bank accounts, credit cards, or PayPal.
- Enable bank feeds (if available in your country) to automatically import transactions.
-
Set Up Invoicing & Payments
- Upload your business logo and customize invoice templates.
- Set up payment gateways (Stripe, PayPal, GoCardless, etc.) for online payments.
- Define payment terms (e.g., “Due in 30 days”).
-
Add Users & Set Permissions
- Invite your accountant, bookkeeper, or team.
- Assign roles (e.g., Adviser, Standard, Invoice Only, Read Only).
-
Enter Opening Balances
- Import balances from your old accounting system.
- Add outstanding invoices and bills.
- Enter bank account balances as of the conversion date.
-
Integrate Apps
- Connect with payroll, inventory, CRM, or POS systems through the Xero App Store.
-
Review & Go Live
- Double-check financial settings.
- Test invoice creation, bank reconciliation, and reporting.
- Start recording daily transactions.
Tip: Work with your accountant/bookkeeper during setup to ensure compliance with tax and reporting rules.
Once the basic Xero account setup (company profile, chart of accounts, bank feeds, etc.) is complete, you can unlock advanced features to make your system more powerful and efficient. Here’s a breakdown:
Tracking Categories (Advanced Dimensions)
- Go to Accounting > Advanced > Tracking categories.
- Create custom dimensions such as:
- Departments (Marketing, Sales, Operations)
- Locations (Branch A, Branch B)
- Projects/Jobs
- Apply them to invoices, bills, and journals to track profitability by segment.
Multi-Currency Setup
- Enable multi-currency if you deal with international customers/vendors.
- Automatically pulls daily exchange rates.
- Supports invoices, bills, and bank accounts in foreign currencies.
Advanced Chart of Accounts Customization
- Import a detailed chart of accounts that matches your industry (e.g., construction, property management, retail).
- Group accounts for better reporting (e.g., split expenses into direct vs overhead).
- Assign default tax rates and tracking categories at the account level.
Custom User Roles & Permissions
- Go to Settings > Users.
- Assign tailored roles (e.g., AR clerk can only access invoices, payroll staff only payroll).
- Useful for internal control and compliance.
Automation with Bank Rules
- Set rules for recurring transactions (e.g., bank fee, subscription charges).
- Saves time and reduces coding errors.
- Rules can auto-allocate tax codes, accounts, and tracking categories.
Repeating Transactions
- Automate regular bills, invoices, or journals.
- Examples:
- Monthly rent bill
- Recurring subscription revenue
- Payroll journal entries
Budgets & Forecasting
- Create budgets by month, quarter, or year.
- Compare actual vs budget in reports.
- Export to Excel or use add-ons like Fathom, Spotlight, or Float for deeper forecasting.
Custom Reports & Layouts
- Build your own Profit & Loss, Balance Sheet, or Management Reports.
- Add formulas (e.g., Gross Margin %).
- Group accounts under custom headers.
- Save report templates for reuse.
Integration with Apps
- Connect to 1,000+ apps in the Xero App Store:
- POS (Vend, Square)
- CRM (HubSpot, Salesforce)
- Inventory (DEAR, Unleashed)
- Payroll (Gusto, Deputy, Xero Payroll)
- Reporting (Fathom, Spotlight)
Advanced Invoicing Features
- Enable online payments (Stripe, PayPal, GoCardless).
- Set automated invoice reminders.
- Use invoice branding themes for different customer groups.
- Schedule repeating invoices for subscriptions.
Multi-Entity & Consolidation (via Add-ons)
- If you manage multiple businesses, integrate apps like Fathom, Joiin, or Spotlight for consolidated reporting across Xero accounts.
Advanced Payroll & HR
- Automate leave accruals, superannuation/pension contributions, and compliance filing.
- Enable employee self-service (via Xero Me app).
- Sync with time-tracking apps (e.g., Deputy, TSheets).
Tip: Advanced features are most powerful when combined — e.g., use tracking categories + budgets + custom reports to see profitability per branch or project in real time.
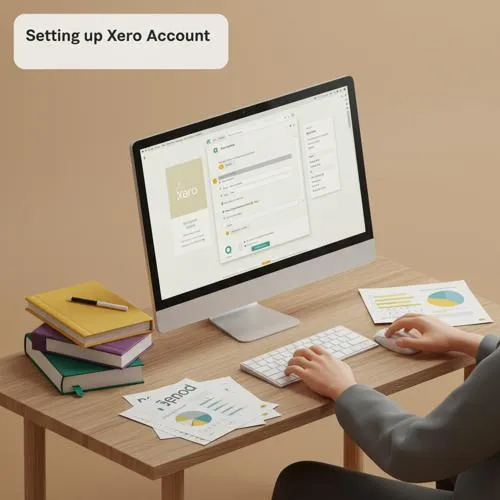
Table of content
- Step-by-step guide to setting up a Xero account for your business
- Tracking Categories (Advanced Dimensions)
- Multi-Currency Setup
- Advanced Chart of Accounts Customization
- Custom User Roles & Permissions
- Automation with Bank Rules
- Repeating Transactions
- Budgets & Forecasting
- Custom Reports & Layouts
- Integration with Apps
- Advanced Invoicing Features
- Multi-Entity & Consolidation (via Add-ons)
- Advanced Payroll & HR